Building a 3D AI topic exploration app using Vercel AI SDK.
Lately, I’ve only been writing code for a product that provides value. Every piece of code had to make sense. Now, I’m building an AI experience that doesn’t make much sense in practice (or maybe it does; I’m not sure).
We’ll build TopicWeave, an AI experience that lets users enter a topic and generate a 3D graph of related topics to explore. Users can click on a topic to go deeper.
Keep in mind that:
- For simplicity and fun, I decided not to turn this idea into an “SEO keywords generator” or “content ideas generator”; you can do that.
- We’ll take the shortest path in implementation, not optimizing 3D scene performance or AI prompts, etc.
Step 1: Create a Next.js app
Let's start by creating a new Next.js app using shadcn CLI. Also note that I'm using Bun, but you can just use npm if you want.
bunx shadcn@latest init -d
After going through the prompts, and finishing the installation, you should move into the project directory and install the following dependencies.
cd [project-name]
bun add zod ai @ai-sdk/openai react-force-graph-3d
Here's a list of the dependencies we are installing:
- zod for schema validation
- Vercel AI SDK for the LLM/AI SDK
- @ai-sdk/openai for theOpenAI provider
- react-force-graph-3d for the 3D force graph (wrapper around Three.js)
In order to use the OpenAI provider, you need to set the OPENAI_API_KEY environment variable with your OpenAI API key found in your OpenAI API dashboard.
Then, create a .env file in the root of the project and add the following:
OPENAI_API_KEY="your_openai_api_key"
Step 2: The AI server function
We need to write a server function that will generate the list of related topics for a given topic. The Vercel AI SDK provides a generateObject
function that enables us to generate a structured JSON output from the LLM after we give it a prompt and tell it how the output should look like (aka schema).
Let's create a new file called /_lib/actions.ts in the app folder and add the following code:
'use server'

import { generateObject } from 'ai'
import { z } from 'zod'
import { openai } from '@ai-sdk/openai'

// Prompt for the LLM to generate a list of related topics
const inputPromptForTopic = (topic: string) => `
    You are a the most knowledgeable person in the world. You help people explore and dig deeper into any given topic.
    Your job is to generate a list of associated topics for the topic according to the following criteria:
    - The topics should be related to the given topic and not exceed 12 topics.
    - The topics should be more specific than the given topic to help the user explore the topic in more detail.
    - The topics should be safe and does not include any harmful content.

    Examples:
    "Artificial Intelligence" -> "Machine Learning", "Deep Learning", "Natural Language Processing"
    "Web development" -> "Frontend Development", "Backend Development", "Full Stack Development"
    "Data Science" -> "Data Analysis", "Data Visualization", "Data Engineering"
    "Quantum Computing" -> "Quantum Mechanics", "Quantum Computing Algorithms", "Quantum Cryptography"
    "Space Exploration" -> "Astronomy", "Astrophysics", "Cosmology"

    Generate a list of associated topics for the topic: ${topic}.
`

// Tell the LLM how the output should look like
const outputSchema = z.object({
  topics: z.array(z.string()).describe('A list of associated topics'),
})

// The server action that generates the list of related topics
export async function getRelatedTopics(topic: string) {
  const { object } = await generateObject({
    model: openai('gpt-4o-mini'), // you can use any other model
    schema: outputSchema,
    prompt: inputPromptForTopic(topic),
  })

  return object.topics
}
Play around with the prompt and try different models to see what works best for your use case. Treat this as just a starting point.
Step 3: The 3D graph component
Remove the default example code from the app/page.tsx file and add the following code:
import GraphExplorer from '@/app/_components/graph-explorer'

export default async function Home() {
  return <GraphExplorer />
}
Of course, we need to create the GraphExplorer component. Let's create a new file called app/_components/graph-explorer.tsx and add the following code:
'use client'

import dynamic from 'next/dynamic'

const ForceGraph3D = dynamic(() => import('react-force-graph-3d'), {
  ssr: false,
})

export default function GraphExplorer() {
  const graphData = {
    nodes: [{ id: 0, name: 'Hello' }],
    links: [],
  }

  return (
    <ForceGraph3D
      graphData={graphData}
      onNodeClick={(node) => console.log(node)}
    />
  )
}
In the GraphExplorer component, For starters, we are importing the ForceGraph3D component from the react-force-graph-3d library dynamically. This is because the component is not available on the server. See more here
With this component in place you should be able to run the app and see the 3D graph with a single node. Use this command to run the app:
bun run dev
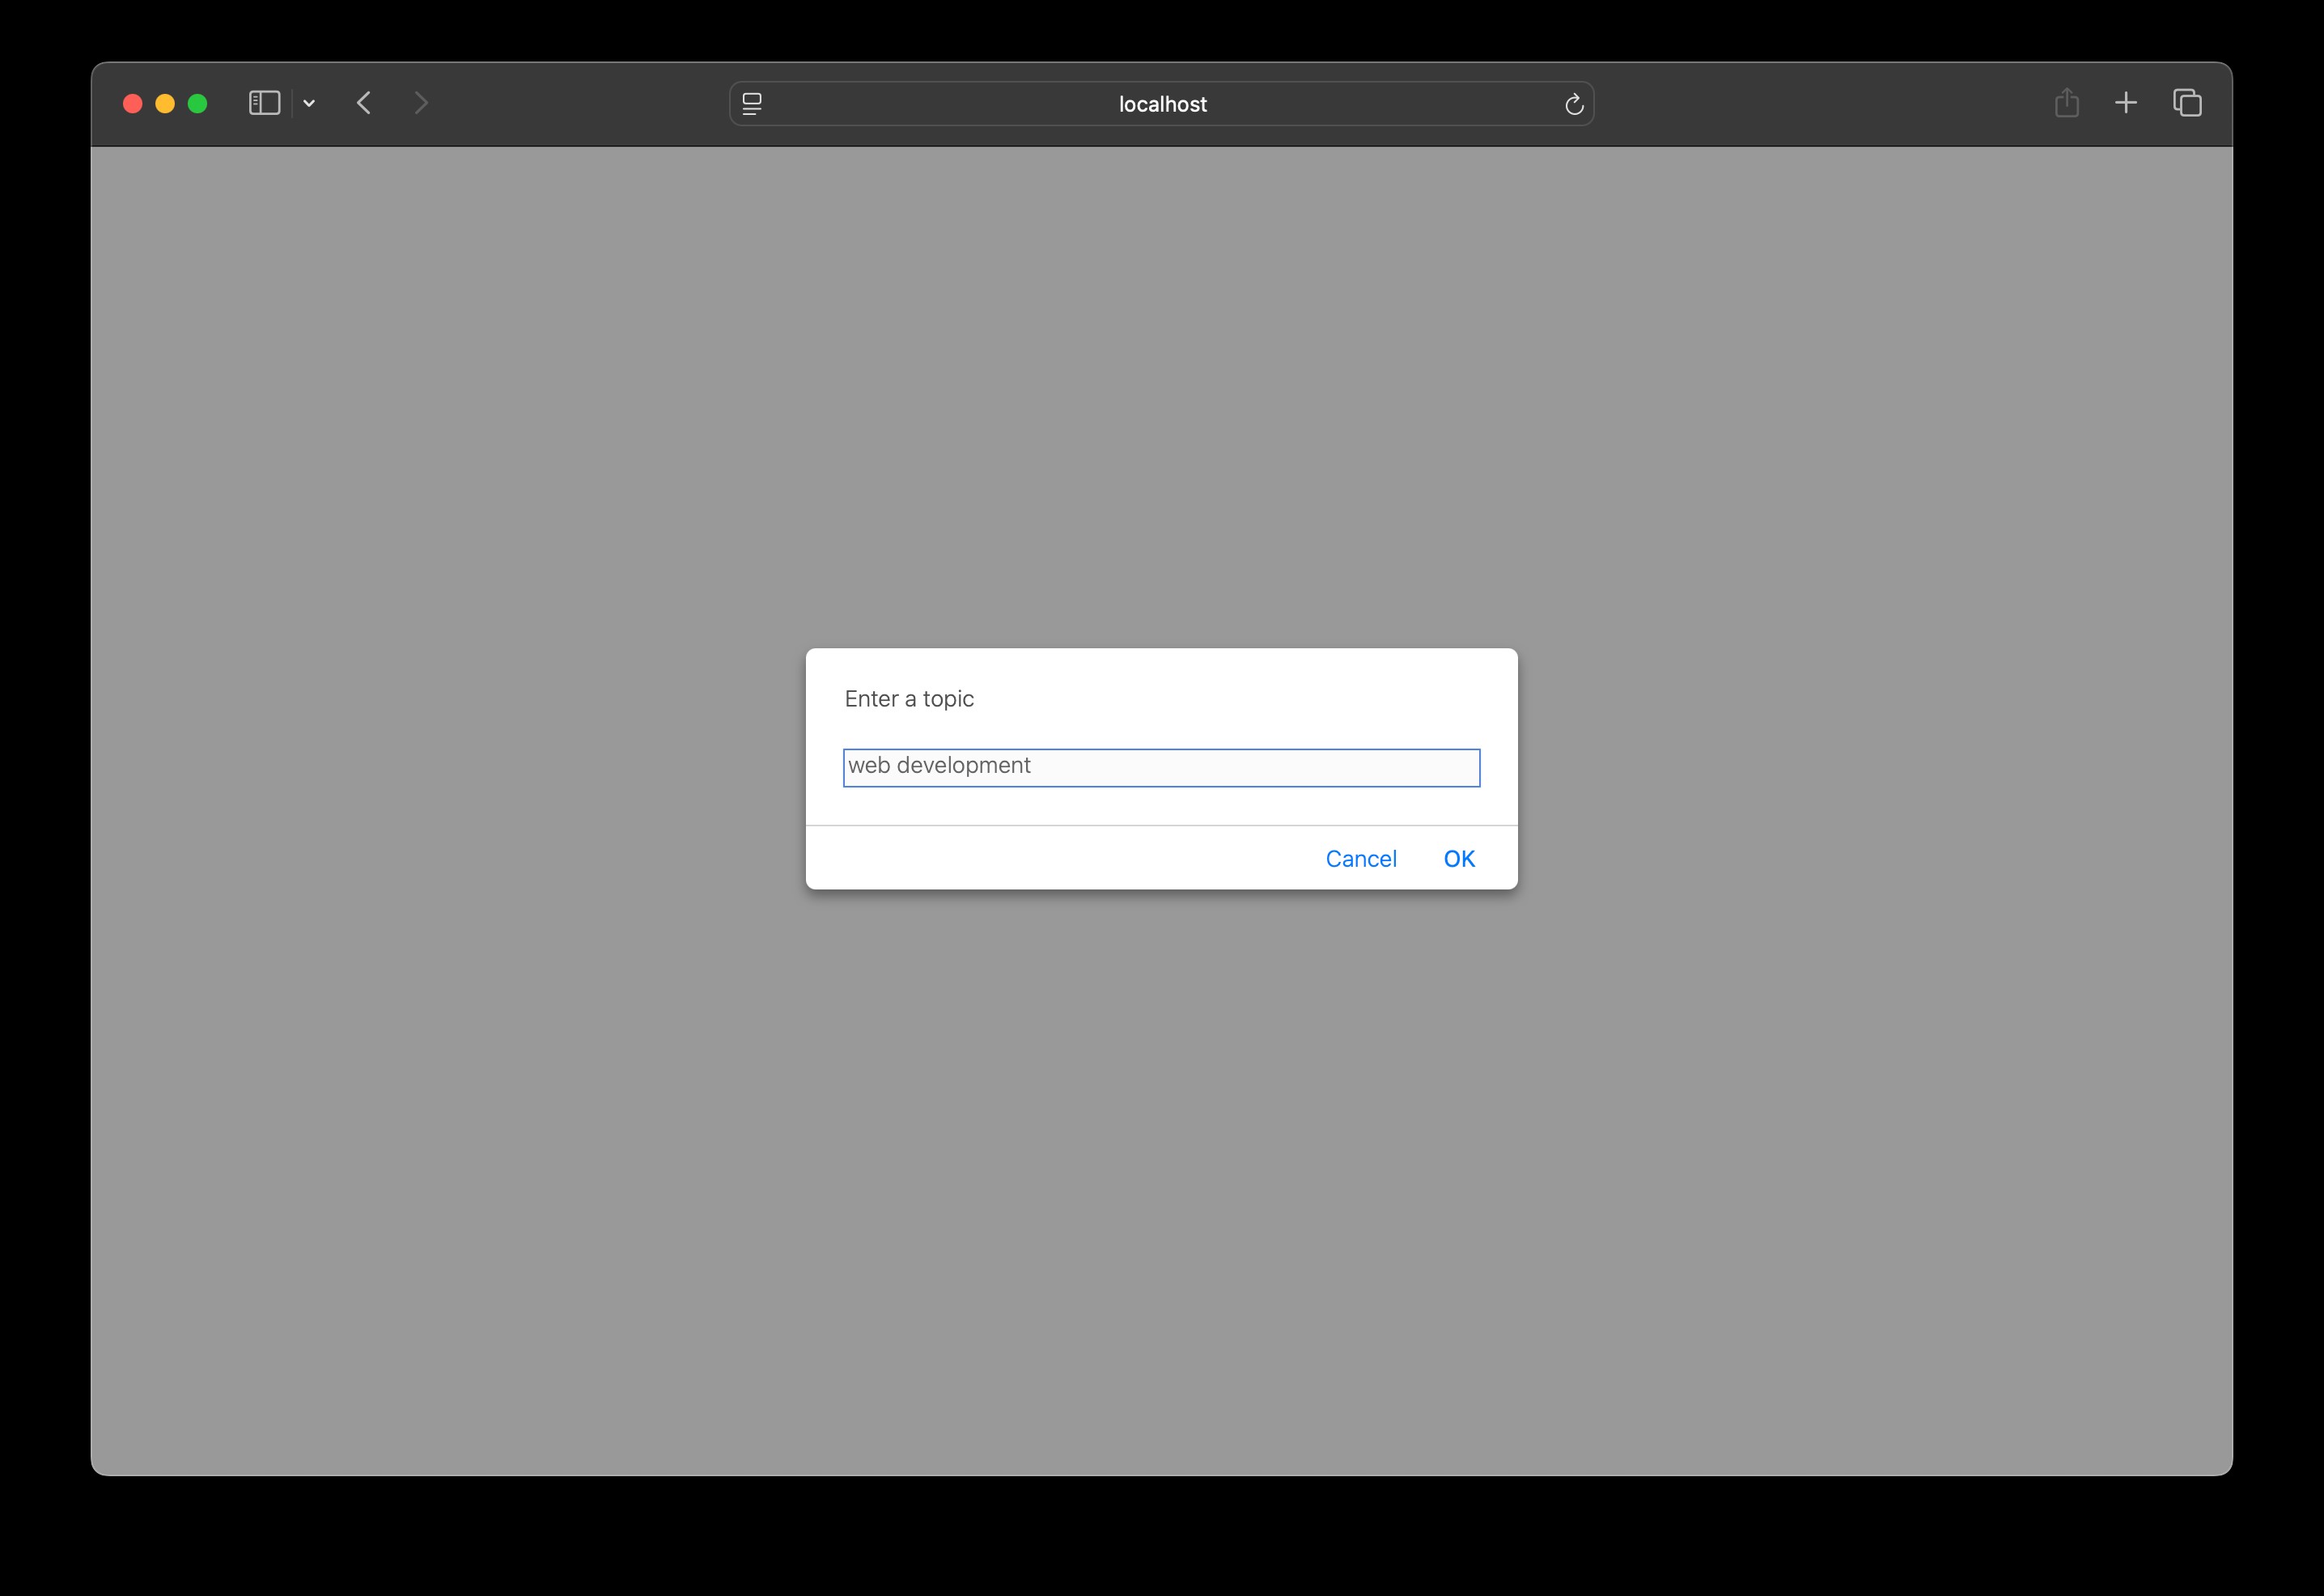
You should see something like this (also try to rotate the graph and click on the node to see the node details in the console):

Now that we have the 3D graph component in place, let's complete the implementation by prompting the user to enter a topic and also handling the generation of the related topics upon clicking on the node.
'use client'

import dynamic from 'next/dynamic'
import { useState, useEffect } from 'react'
import { getRelatedTopics } from '../_lib/actions'

const ForceGraph3D = dynamic(() => import('react-force-graph-3d'), {
  ssr: false,
})

// New
interface Node {
  id: number
  name: string
}

interface Link {
  source: number
  target: number
}

export default function GraphExplorer() {
  // Modified
  const [graphData, setGraphData] = useState<{ nodes: Node[]; links: Link[] }>({
    nodes: [],
    links: [],
  })

  // New
  useEffect(() => {
    if (graphData.nodes.length === 0) {
      const topic = prompt('Enter a topic')

      if (topic) {
        setGraphData({
          nodes: [{ id: Math.random(), name: topic }],
          links: [],
        })
      }
    }
  }, [graphData])

  // New
  const handleNodeClick = async (sourceNode: Node) => {
    const relatedTopics = await getRelatedTopics(sourceNode.name)
    // update the graph data
    const newNodes = relatedTopics.map((topic) => ({
      id: Math.random(),
      name: topic,
    }))
    const newLinks = newNodes.map((node) => ({
      source: sourceNode.id,
      target: node.id,
    }))
    setGraphData({
      nodes: [...graphData.nodes, ...newNodes],
      links: [...graphData.links, ...newLinks],
    })
  }

  return (
    <ForceGraph3D
      graphData={graphData}
      onNodeClick={(node) => handleNodeClick(node as Node)} // Modified
    />
  )
}
Here is an explanation of the code:
- First we added a new
NodeandLinkinterface to define the structure of the nodes and links in the graph. - Then we modified the
GraphExplorercomponent to manage the graph state using theuseStatehook. - We also added a new
useEffecthook to prompt the user to enter a topic and generate the related topics upon clicking on the node. - Finally, we added a new
handleNodeClickfunction to handle the generation of the related topics upon clicking on the node.
Step 4: Run and play around
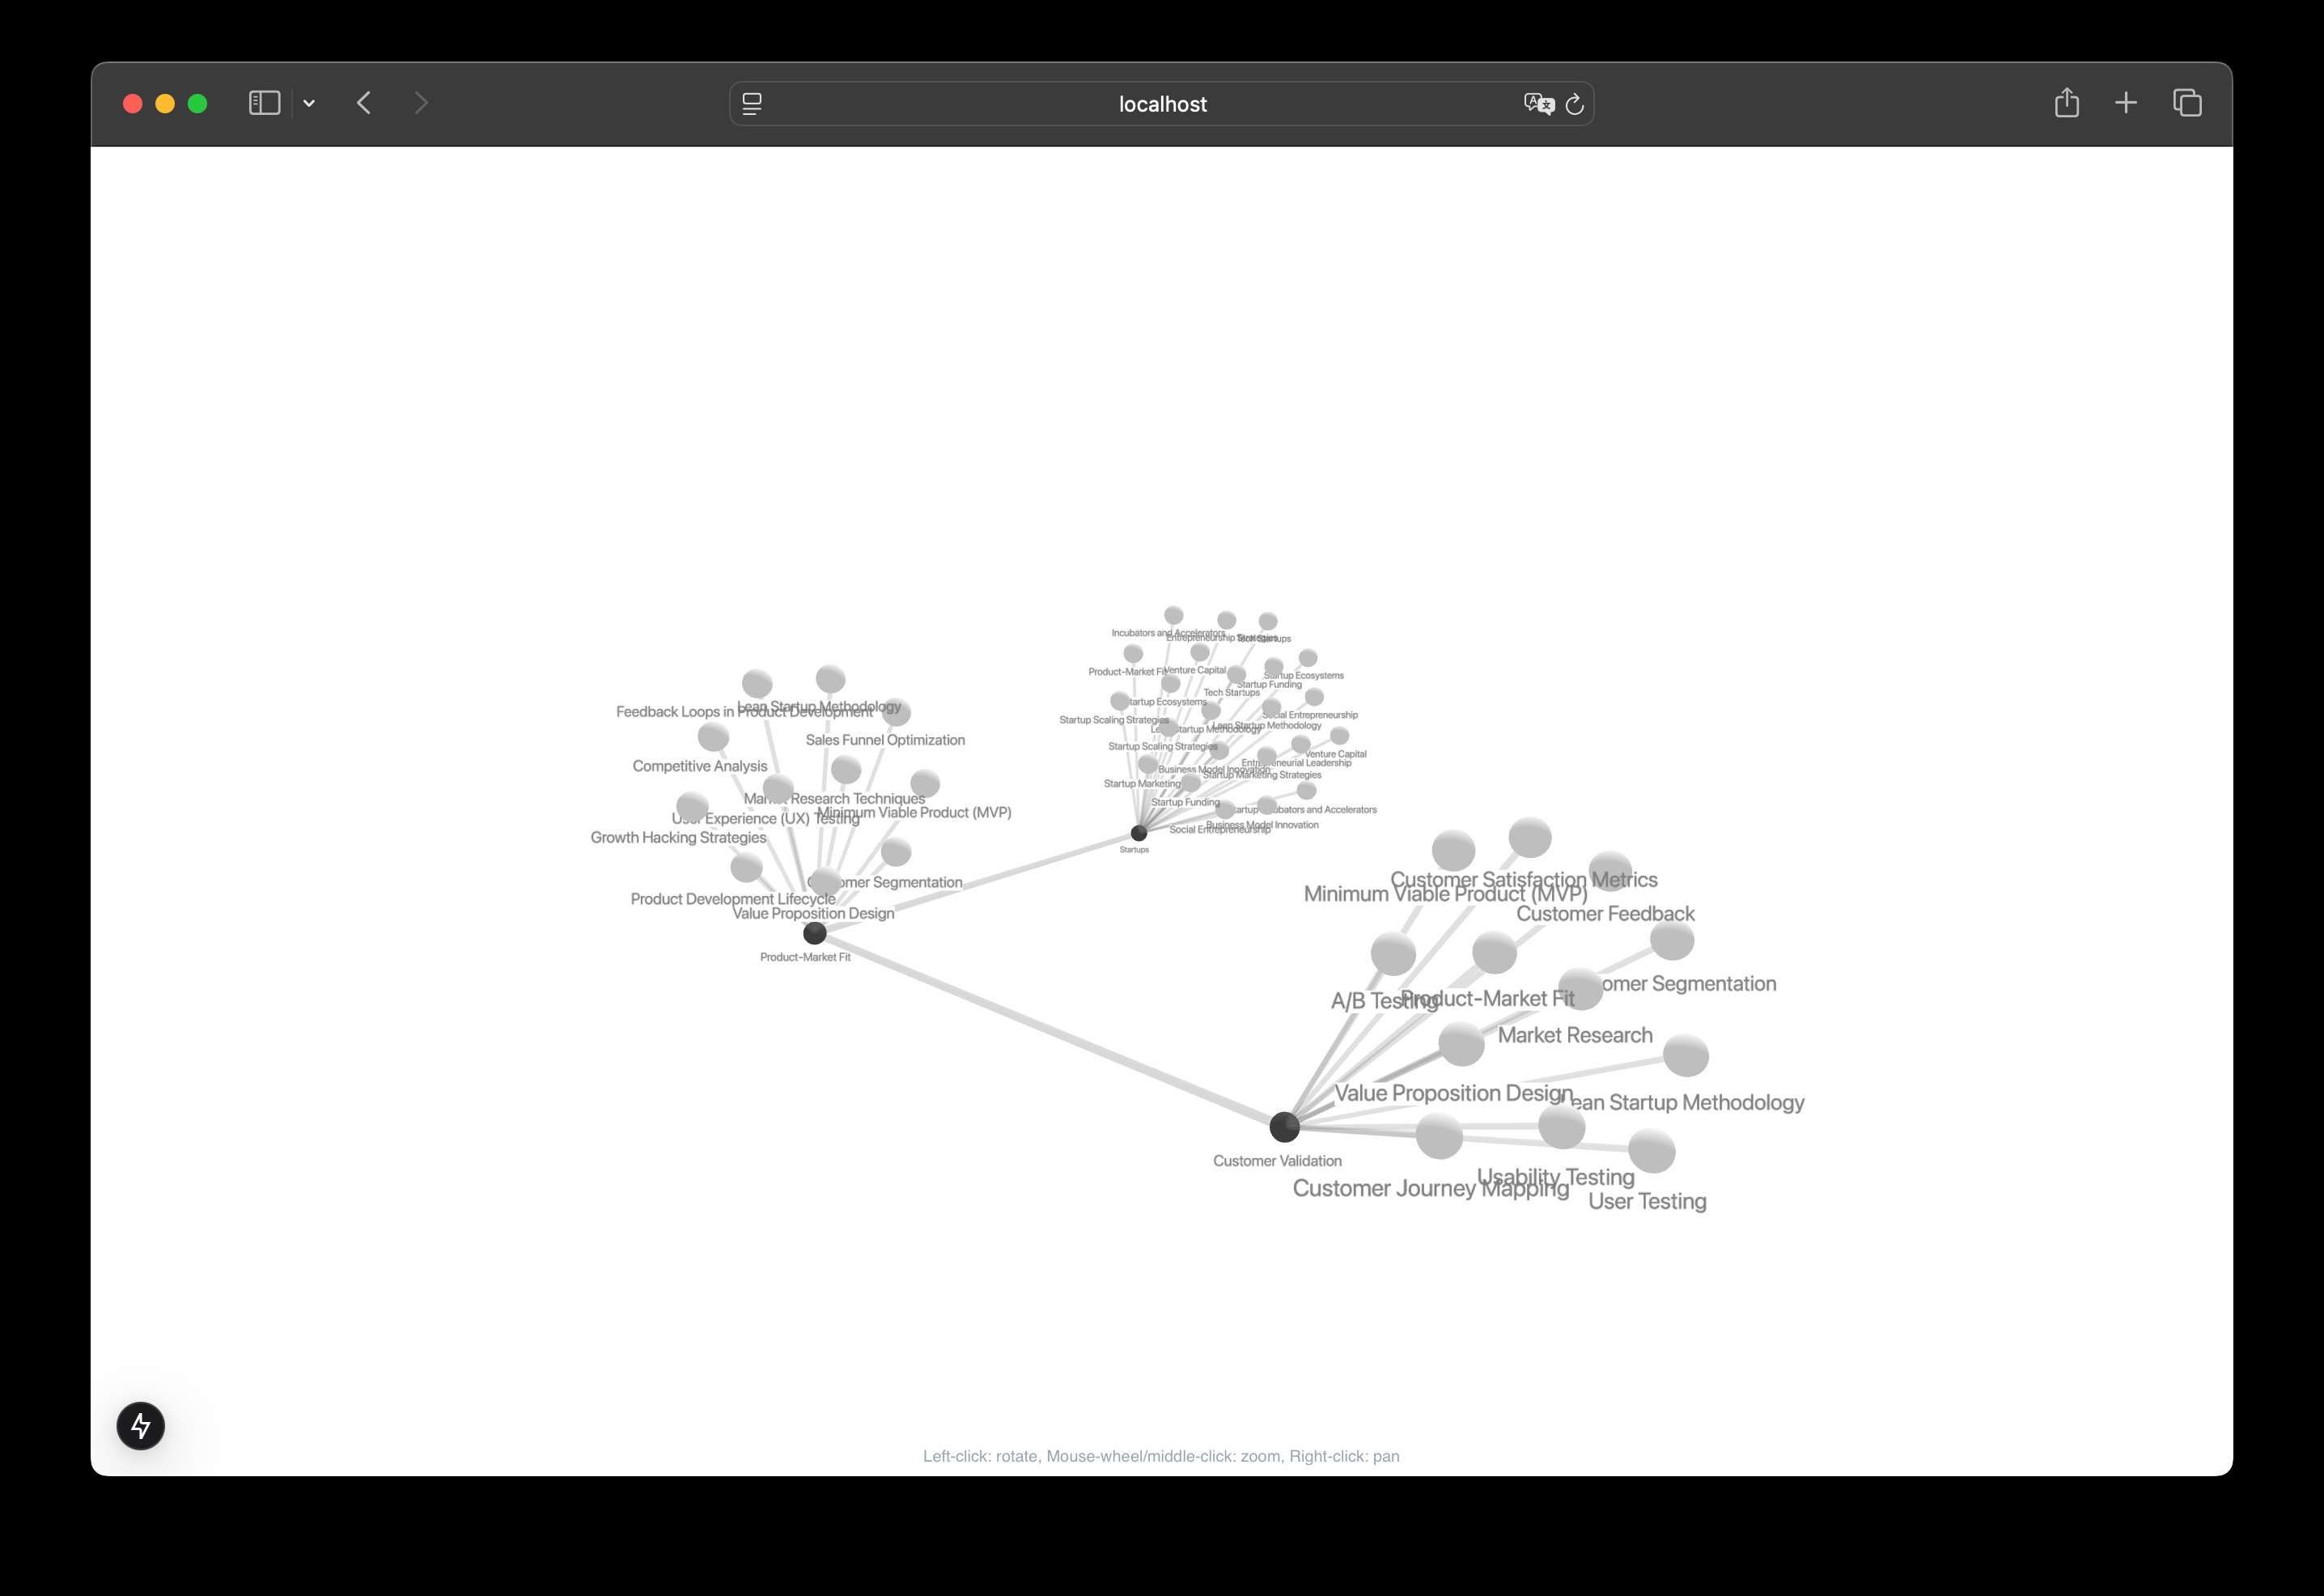
You should now be able to enter a topic and see the related topics in the 3D graph when you click and hover over any node.

Conclusion
LLM structured output is a powerful technique that enables more complex and cooler use cases and the Vercel AI SDK makes it super easy to implement and also let's you switch providers easily.
You can improve this implementation by:
- Improve the prompt to generate more accurate and relevant related topics.
- Save the graph data to the database and use this history while generating the related topics.
- Add better UI instead of prompting and console logging the results.
- Adding a loading state and error handling for the
getRelatedTopicsaction. - Improve the UI of the 3D graph and add more components/panels depending on your use case.
I hope you enjoyed this article and maybe learned something new.